
 Set for Student Project
 Lecture Note
 Lecture Video
 Activity
 Assignment
 Design Project
 Quiz & Exam

How Laser Cut Architectural Models Are Transforming Design: A Comprehensive Beginner’s Guide

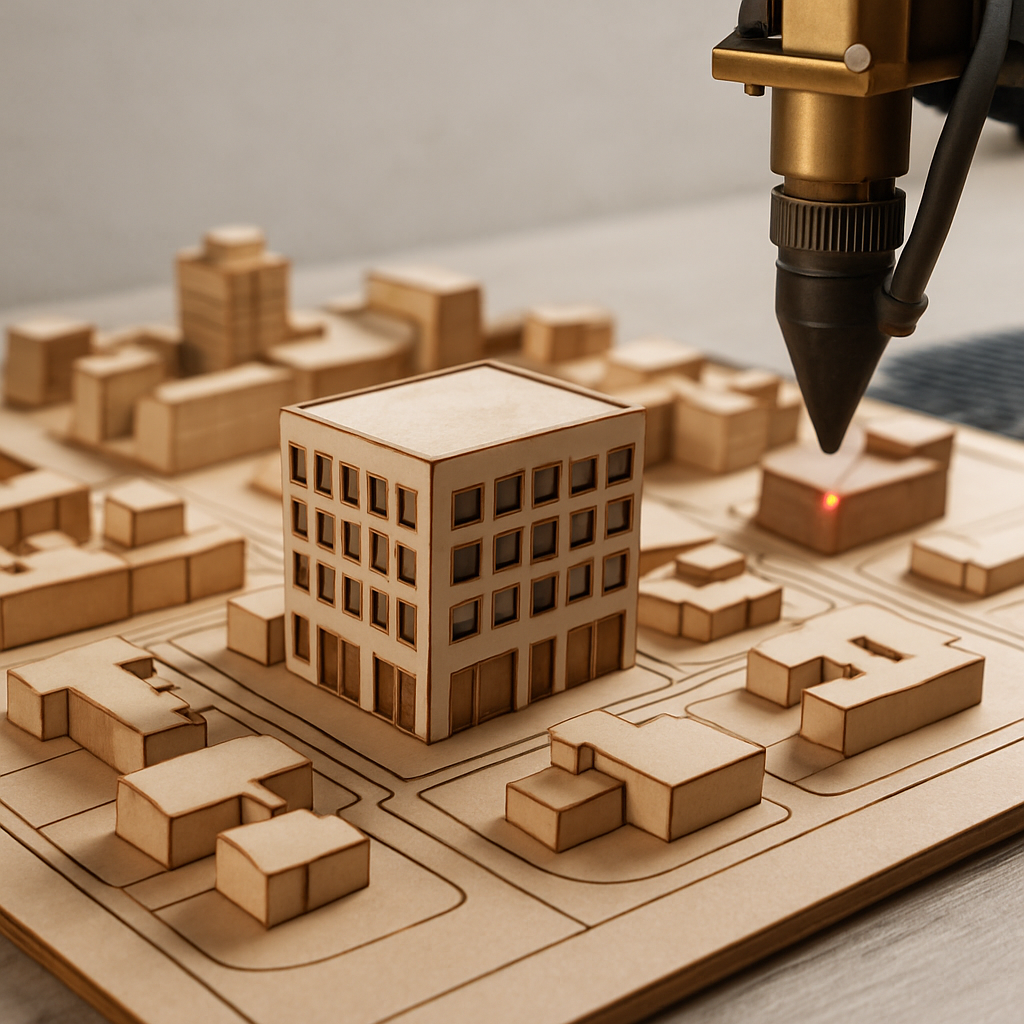
Understanding the Power of Laser Cut Architectural Models
If you’ve ever laid eyes on a laser cut architectural model, you know just how striking they can be. There’s something almost mesmerizing about those razor-sharp lines and delicate details—features that would test the patience (and skills!) of even the steadiest hand. Introduction to Laser Cut Architectural Models goes way beyond the technology itself; it’s really about how this level of precision is transforming the way we envision, share, and even sell our designs. Whether you’re a student hunched over your first schematic, a seasoned architect, or just someone who loves model making, getting familiar with laser cutting can totally change up your workflow—and the impression you leave with your audience.
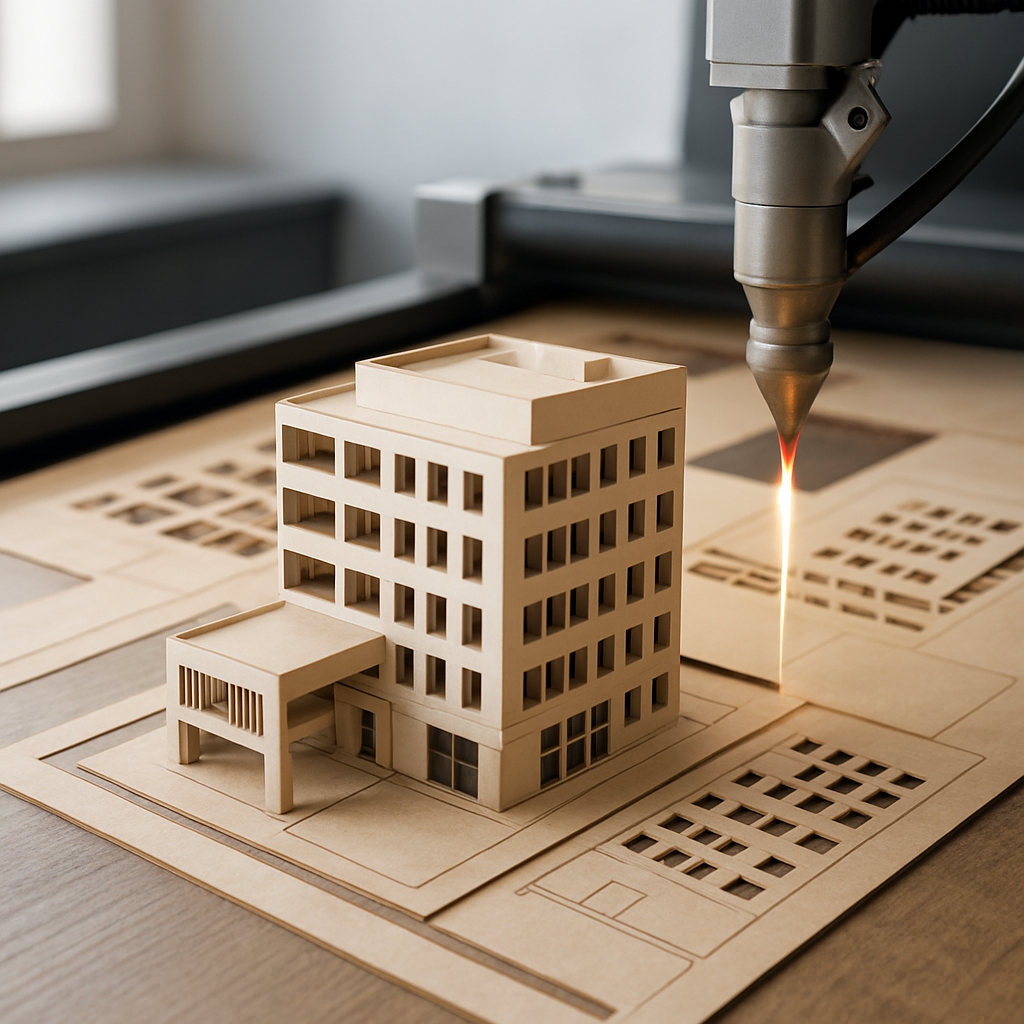
At its core, laser cutting is pretty wild: a super-focused beam of light zips through materials, slicing with an accuracy that feels almost futuristic. This means you can pull off mind-blowing levels of detail that would take ages (if they’re even possible) by hand. But it’s not only about doing things faster. By linking up digital designs with real-world materials, laser cutting helps you leap from an idea on a screen to a model you can hold and show off. You can test out concepts in 3D, tweak on the fly, and deliver models that look every bit as sharp as your computer renderings. The upshot? Your designs get noticed, your ideas make sense to everyone involved, and your pitches stand a much better shot.
The rise of laser cut models isn’t just a passing fad, either. Over the last ten years or so, architects, universities, and design studios have really leaned into this technique to boost quality and ramp up efficiency. You’ll spot these models everywhere: from big competition entries to city planning meetings to smaller residential pitches. What really sets laser cut models apart is their ability to blend technical perfection with creative vision, resulting in models that are both practical and downright beautiful.
Why Laser Cut Models Deliver Proven Success
You might be asking yourself: What makes laser cut architectural models worth switching to, especially if you’re used to more old-school methods? It basically boils down to three things—precision, efficiency, and impact. When your pieces fit together perfectly thanks to laser precision, you spend less time wrestling with parts that just won’t cooperate. Plus, you can finally do justice to those complex patterns, crazy geometries, or intricate screens that just don’t come out right with a craft knife. Ever wanted to replicate a delicate lattice or a textured façade at scale? Laser cutting makes it feel almost effortless—and your audience will notice.
Speed is another game changer. Once you’ve figured out your digital files, churning out extra copies or making tweaks becomes a breeze. Think about it: if you’re working on a big masterplan with dozens of buildings, and a client emails with a change, you don’t have to start over. Just adjust the file, re-cut that section, and you’re back in business. This nimbleness lets you experiment more, respond to feedback faster, and keep projects humming along. It’s no coincidence that many of the world’s most respected design firms have made laser cutting a staple in their process.
And let’s not forget the wow factor. At a presentation or competition, your model is often the very first thing people see. A laser cut model—crisp lines, clean layers, tight joints—sends a message that you take your craft seriously. These models can also act as a universal translator, helping folks who aren’t architects see exactly what you’re picturing. Removable layers, pops of colored acrylic, or etched graphics can highlight key ideas and walk your viewers through the design in a way that sticks. Time and again, this ability to communicate clearly and memorably has helped teams land projects and win over tough crowds.
Getting Started: Tools, Materials, and Workflow Essentials
If you’re thinking about diving into laser cut architectural models for the first time, take a deep breath—it’s less intimidating than it sounds. You don’t need to be a tech genius or drop a small fortune on high-end gear. In fact, a lot of newcomers get started by using local makerspaces, college labs, or even commercial services that let you pay by the hour. The trick is wrapping your head around the basic workflow, so you can design smarter and sidestep the common rookie mistakes.
Everything starts with your digital design. Most laser cutters are happiest with vector files—like .dxf or .ai—which you can make in programs like Rhino, Illustrator, or the ever-popular AutoCAD. You’ll need to think in layers: which parts are cut right through, which get engraved, and, of course, what materials you’ll use. Choosing your materials feels a bit like picking ingredients for a recipe. Basswood, acrylic, cardboard, and specialty papers all have their quirks—acrylic gives you that sleek, modern finish, while wood brings some natural warmth and texture. Don’t overlook thickness, though! It might sound nitpicky, but using mismatched materials can mean joints that don’t fit right or wobbly structures that just don’t hold together.
Once you’ve prepped your files, it’s time to fire up the laser cutter, adjust your power and speed settings, and run some test cuts. Don’t be shy about trial and error—even seasoned pros do a few test runs to nail down the right settings for each material. After cutting, it’s assembly time, and this is where good digital planning really pays off. Smart use of tabs, slots, and interlocks can make your model both easy to build and sturdy enough to survive a few subway rides (or a clumsy classmate). With experience, you’ll start designing with assembly in mind, dodging headaches before they start and ending up with a polished result.
If you’re just starting out, here are a few tips that can really make a difference:
- Keep your first designs on the straightforward side—nail the basics before diving into super-intricate territory.
- Label your parts right in the digital file (and even on the physical pieces) to make sorting a breeze.
- Experiment with glues—some materials play best with white glue, while others need a special adhesive to stay put.
You’ll pick up something new with every project, building confidence and sharpening your skills as you go.
Creative Possibilities: Beyond the Basics of Laser Cut Models
Laser cut architectural models aren’t just about saving time—they open up a whole new creative playground. Once you’ve got the basics down, you can start experimenting in ways that would be nearly impossible with traditional model making. Think about adding etched textures to mimic brick or stone, layering see-through acrylic for windows and water, or dropping in 3D printed components for extra depth and realism. These techniques let you tell richer stories and reveal your design intent in ways that text or drawings alone just can’t match.
Take urban planners, for instance. They often use layered acrylic sheets to show off things like public spaces, traffic flow, or phased developments. Or maybe you want to highlight a circulation route—just etch it right onto the base layer. These aren’t just pretty touches; they help whoever’s looking at your model quickly grasp complex ideas. And don’t forget about lighting: drop in some tiny LED strips, and suddenly you can show how sunlight moves or bring interior spaces to life. Some creative teams even use laser cut models as molds for casting concrete or resin, which opens a whole new world of textures and structures you can play with.
When it comes to materials, don’t box yourself in. Sure, wood and acrylic are classics, but plenty of forward-thinking studios experiment with felt, ultra-thin metals, or even biodegradable plastics for a sustainable twist. Every project is a chance to try new mixes and effects. Of course, it’s important to balance your wild ideas with practicality—a model loaded with delicate features is gorgeous, but it won’t impress anyone if it falls apart the minute you move it. The best results come when you hit that sweet spot where creativity and durability meet.
Common Challenges and How to Overcome Them
Let’s be real—no system is perfect, and laser cut architectural models come with their own set of challenges. The first big hurdle? Wrapping your head around how to translate your 3D vision into a series of 2D cut files. It’s a different way of thinking: you need to imagine how everything slices up, plan out the assembly order, and stay aware of material thicknesses. Trust me, everyone slips up at some point with missing tabs or accidentally mirrored pieces. Rather than get discouraged, treat each mistake as a valuable lesson (and maybe keep some extra material on hand!).
Materials can surprise you, too. Not everything cuts as cleanly as you might hope. Some woods leave behind scorch marks, while thin plastics might warp if things get too hot. The best advice? Budget time and supplies for prototypes and test cuts before you dive into your final version. And keep an eye on your costs—premium materials and outsourcing can add up fast. Planning your layouts to use every inch of material, or combining a couple of projects on one sheet, can save both cash and time.
Don’t forget: the technology is just the start. How you put your model together, finish the surfaces, and even photograph the final product matters just as much. A beautifully cut design can lose its luster with messy gluing or lackluster presentation. Pay attention to the small stuff—like sanding down edges or picking a killer base. If you’re presenting to clients or a jury, think about logistics: does your model need to break down for travel? Should you add a protective cover for fragile bits? The standout creators are the ones who sweat the details, making sure every step—from first sketch to final display—shows off their laser cut architectural models in the best possible light.


