
 Set for Student Project
 Lecture Note
 Lecture Video
 Activity
 Assignment
 Design Project
 Quiz & Exam

From Digital Blueprint to Reality: Practical Strategies for Turning Your Revit Model into a Physical Model

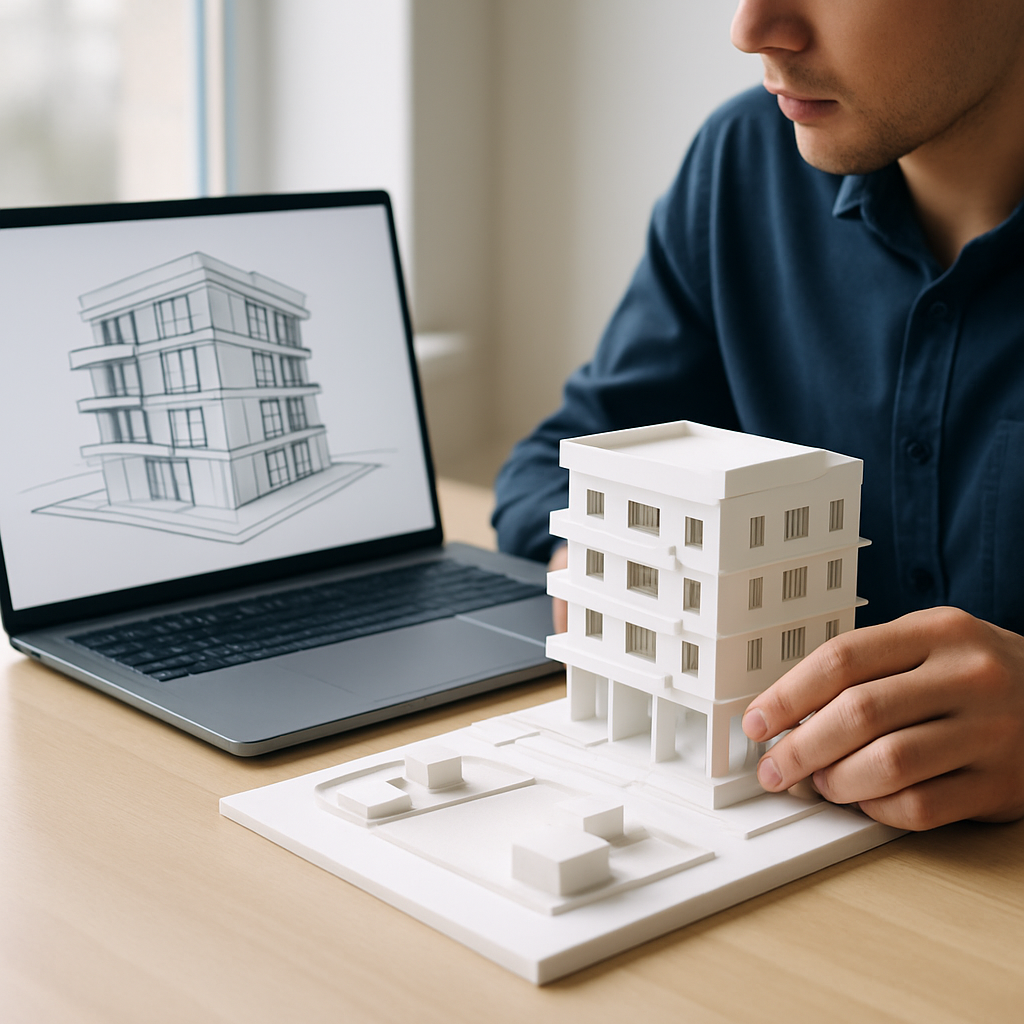
Understanding the Bridge Between Digital and Physical Models
If you work in architecture, engineering, or construction, odds are you’ve poured countless hours into building the perfect digital masterpiece in Autodesk Revit. There’s just something special, though—almost magical—about actually holding a physical model of your design in your own hands. It’s more than just the novelty; that tangible object brings your ideas to life in a way that a screen never quite can. But, let’s be real: turning your Revit model into a physical creation isn’t as simple as hitting ‘print’ on the nearest 3D printer. There’s a whole process—sometimes a little messy, often a bit experimental—that connects digital precision with good old fashioned hands-on craftsmanship. This guide is here to walk you through that journey, step by step, and with all the real-world advice you wish they’d included in the official tutorials. Whether you’re a complete beginner or just looking for expert tips to level up your model-making game, you’re in the right place.
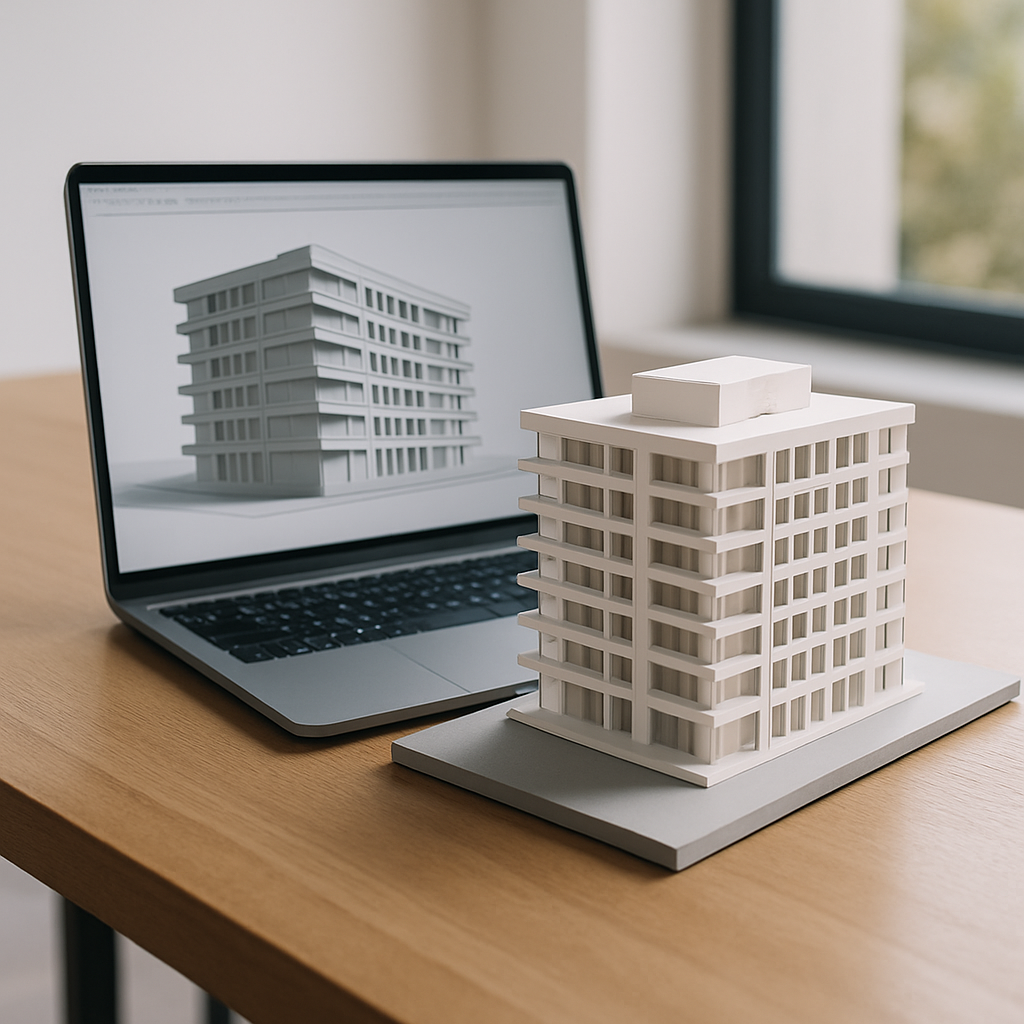
Let’s get one thing out of the way: even though technology is moving at lightning speed, making a truly impressive physical model still requires some planning—and yes, sometimes a bit of good old trial and error. You’ll find plenty of strategies here, not just for exporting files, but for creating models that actually communicate your design intent, impress clients, and avoid those frustrating common mistakes. No matter if you’re aiming for a quick-and-dirty study model or a showstopping presentation piece, you’ll find actionable steps and industry-insider tricks right here.
Preparing Your Revit Model for Fabrication
Before you even start thinking about exporting or printing, there’s some crucial prep work to do in Revit. Optimizing your model for fabrication is about more than just hiding a few layers or switching off annotations. When you take something from the digital world to the physical one, all sorts of issues can pop up—things that are easy to miss on a screen. For instance, walls that look sturdy in Revit might snap like twigs when printed. Or you might discover, too late, that floating window frames or unsupported roof details are impossible to assemble in real life.
So, what’s the first step? Simplify your geometry. Trust me, you’re going to thank yourself later. Most experienced model makers recommend boiling your model down to only the most essential parts—think main walls, roofs, floors, and the site itself. Ditch the furniture, skip the tiny interior details, and get rid of anything that isn’t structural or essential to the overall form. If your end goal is a massing model, focus on big shapes and volumes. But if you’re aiming for a detailed architectural model, you might want to break things down even more: separate out the façade, the structural system, and any site context that’s important.
Scale is another thing you really need to watch out for. Most physical models are built at a scale like 1:100 or 1:200, which means that tiny details—anything under a millimeter, really—will either get lost or become breakage hazards. Use Revit’s scaling tools to double-check how your model’s finer elements will hold up. And don’t be shy about exaggerating things like mullions or thin rails; window frames that are 50mm wide in real life might need to be beefed up to 100mm at model scale, just so they don’t disappear (or snap) during fabrication.
And finally, think ahead to how everything will come together. The pros almost always split complex buildings into logical chunks—maybe by floors, wings, or façade panels—that can be made separately and then assembled. Adding things like interlocking tabs or alignment holes will save you a ton of headaches later when it’s time to put everything together. A little bit of extra planning here pays off in smoother assembly down the road.
Exporting and Converting Your Model: Best Practices
Once you’ve got your model streamlined and ready, it’s time to tackle exporting and converting your files into something a 3D printer or laser cutter can actually use. Revit isn’t built to speak directly to most fabrication tools, so you’ll need to do a little file wrangling. For 3D printing, the most common formats are STL or OBJ; for laser cutting, you’ll want DWG or DXF files.
To create a 3D printable file, you can use Revit’s Export STL add-in (or a similar plugin if you have a favorite). Be choosy here—select only the parts you actually want to print. One of the most common rookie mistakes is exporting the whole building, which usually results in a file that’s a tangled mess and totally unprintable. After exporting, open your file in a mesh editing program like Meshmixer or Blender. Take a close look for things like non-manifold edges, flipped normals, or surfaces that aren’t properly connected. Fixing these hiccups before you start fabrication will save you countless hours (and a few gray hairs) down the line.
If you’re planning to laser cut parts—maybe out of acrylic, cardboard, or wood—you’ll need accurate 2D outlines. Use Revit’s section or plan views to create these, then export to DWG or DXF. It’s smart to clean up these files in a dedicated CAD tool: merge any duplicate lines, close any open polygons, and add some alignment marks. For trickier assemblies, many pros will make exploded views and label each piece. It makes assembly smoother and helps you keep track of all the parts (especially if you’re working with a lot of them).
And whatever you do, don’t skip test exports. Export a single, representative piece and run it through your fabrication process before you commit to building the whole model. It’s a low-risk way to catch problems with scale, missing geometry, or tolerance issues before you invest serious time and material in a full build. Think of it as a dress rehearsal for your model.
Choosing the Right Fabrication Method
Your choice of fabrication method should fit both what you want your model to accomplish and the tools you have access to. 3D printing has really taken off because it can handle organic, complex shapes straight from your digital model, no sweat. Fused Deposition Modeling (FDM) printers are the budget-friendly option—great for rough study models or early design concepts. For models where detail and finish really matter (think presentations or competitions), Stereolithography (SLA) or Selective Laser Sintering (SLS) printers can produce impressively crisp, smooth parts.
Laser cutting is still a top pick for architectural models where you want sharp lines, layered shapes, and maybe a bit of transparency. It’s especially useful for creating massing models, site plans, or detailed façades. You can create everything from topography to stacked building volumes by layering cut sheets of acrylic, wood, or cardboard. Laser-cut parts are quick to make and easy to tweak, which is perfect for those inevitable last-minute changes.
Don’t feel like you have to pick just one method, either. Many experienced model makers use a mix—maybe 3D print the complicated building core, then laser cut the façades, landscape, or site elements. This hybrid approach lets you play to the strengths of each technique, giving you both visual impact and efficiency. If you’re lucky enough to have access to a fabrication lab, chat with the folks running it. They usually have a goldmine of advice about which materials and machine settings work best for tricky files.
Material selection is just as important as your fabrication method. PLA and ABS are the most common plastics for 3D printing, but keep in mind each one handles differently in terms of strength, surface finish, and cost. For laser cutting, Baltic birch plywood is a favorite because it’s stable and looks professional, while chipboard is a good choice if you’re on a budget and need something easy to paint. The way your model feels matters, too—especially if you’re putting it in a client’s hands. Choose materials that don’t just look good, but feel good, too.
Assembly, Finishing, and Troubleshooting
After all your parts are fabricated, it’s time to roll up your sleeves—this is where things get hands-on and sometimes a little unpredictable. Even if your files were exported flawlessly, real-world assembly can throw you a few curveballs. Lay out all the pieces first and do a dry fit before you glue or fasten anything. Watch for warping, pieces that don’t align, or missing parts (it happens to the best of us). Sometimes you’ll need to grab a file, a bit of sandpaper, or even re-print a part or two—build some extra time into your schedule for these inevitable tweaks.
Pick the right glue for the job: solvent welds work best for acrylic, PVA (plain old white glue) is perfect for wood, and cyanoacrylate (yep, super glue) does the trick for plastics. If you’ve got moving or modular elements in your model, magnets or tiny screws can make assembly easier and let you swap parts in and out. Even humble masking tape is handy for holding things together temporarily while glue sets, or for test-fitting before you commit to final assembly.
The finishing stage is where your model really starts to shine. Sand down rough edges and trim off any support material left from 3D printing. If you find small gaps or seams, a little putty or resin can help you touch up before painting. For a polished, professional look, it’s worth spending the time to prime your model and use spray paint or an airbrush to get smooth, even color. Add decals or print textures for windows, doors, or landscape features—these little touches go a long way. Remember, you’re not just aiming for technical accuracy; you’re trying to communicate your design. Use color, texture, and detail to draw attention to the parts that matter most.
No matter how carefully you plan, something is bound to go sideways—failed prints, broken bits, assembly puzzles you didn’t anticipate. Don’t sweat it too much. Keep a notebook or digital log of what works and what doesn’t, so you can troubleshoot and improve every time. The best model-makers out there didn’t get that way by never making mistakes—they got there by learning from every single one. If you get truly stuck, reach out to forums, online communities, or your local fab lab. Chances are, someone has wrestled with (and solved) the exact same problem before.
Pro Tips and Workflow Recommendations from Industry Experts
If there’s anything better than learning from your own experience, it’s learning from people who’ve made hundreds of models and seen it all. Here are some of the top strategies seasoned professionals swear by when turning a Revit model into a physical model:
- Design with fabrication in mind: As you’re working in Revit, keep asking yourself, “Could I actually build this in real life, and at the scale I’m planning?” Thinking this way as you go saves you time and frustration later.
- Prototype selectively: Don’t wait until the whole thing is ready to spot problems. Print or cut a small section at a couple of different scales to see how the details hold up and how strong the pieces are. It’s way more efficient than having to start over after discovering problems late in the process.
- Document your process: Jot down which settings, materials, and assembly tricks worked for you. Your future self (and any teammates) will appreciate not having to reinvent the wheel next time.
- Collaborate early: If you’re working with a fabrication shop or team, bring them in as soon as possible. Their advice about tolerances, what materials behave best, or which assembly tricks to use can save you hours of troubleshooting later.
- Balance speed and quality: When you’re on a deadline, focus on nailing the most important design features instead of sweating every tiny mullion or handrail. For final presentations, though, take the extra time with finishing and details—it really does make a difference.
In the end, turning a Revit model into a physical model is part art, part science, and always a bit of an adventure. Embrace the quirks and the learning curve! With every new project, you’re not just building better models—you’re growing your understanding of how digital designs and real-world materials inform each other, and, honestly, that’s where the real magic happens.


