
 Set for Student Project
 Lecture Note
 Lecture Video
 Activity
 Assignment
 Design Project
 Quiz & Exam

From Blueprint to Reality: Planning a Laser Cut Building Model for Practical Success

Why Laser Cut Building Models Matter—and Where to Begin
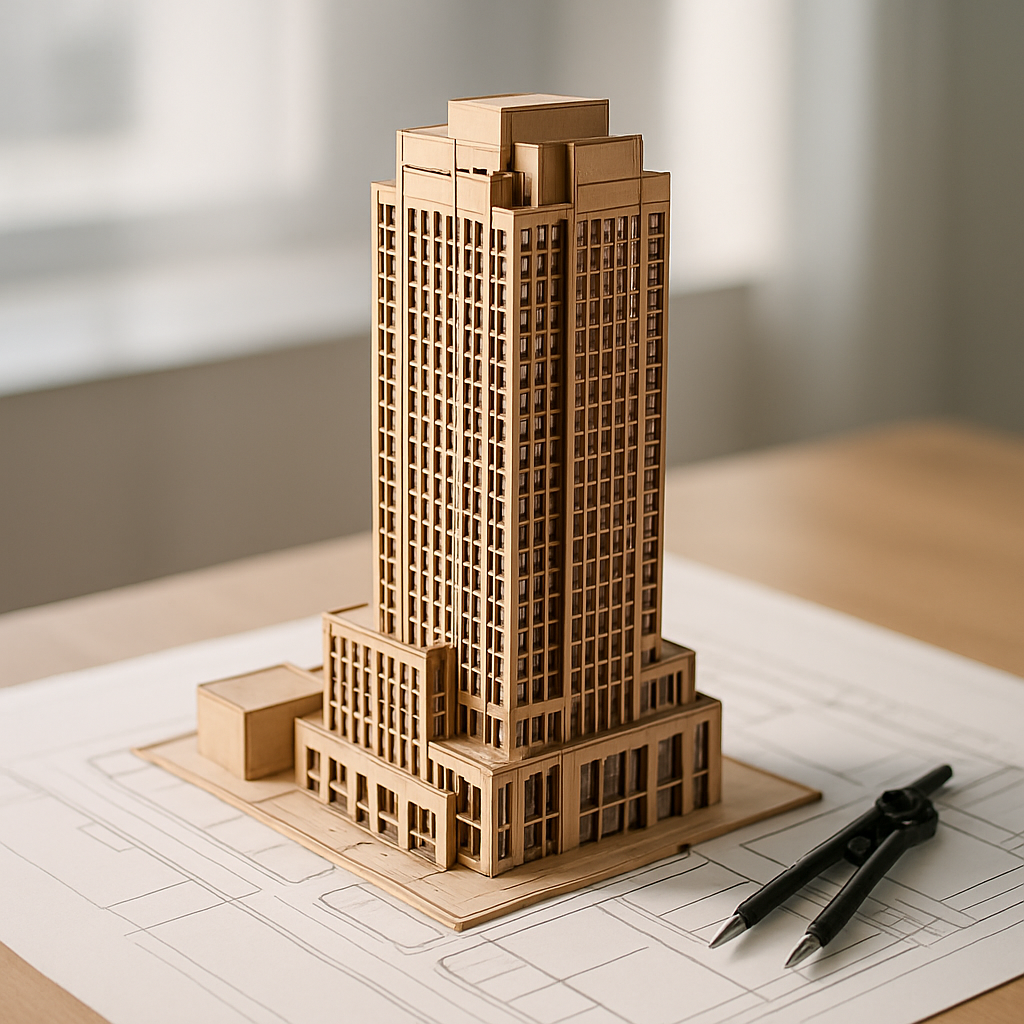
Picture this: you’re holding a miniature, to-scale version of your dream building. Every window is crisp, the roof lines up perfectly, and you can almost see your idea come to life in miniature form. Crafting a laser cut building model isn’t just about getting the technical details right—it’s about making that magical leap from concept to something tangible you can actually touch. Whether you’re an architect hoping to wow a client, a model railroader dreaming up the perfect city block, or just a hands-on hobbyist keen to bring your own house to life in miniature, diving into the world of laser-cut models is both a practical adventure and a surprisingly satisfying creative journey.
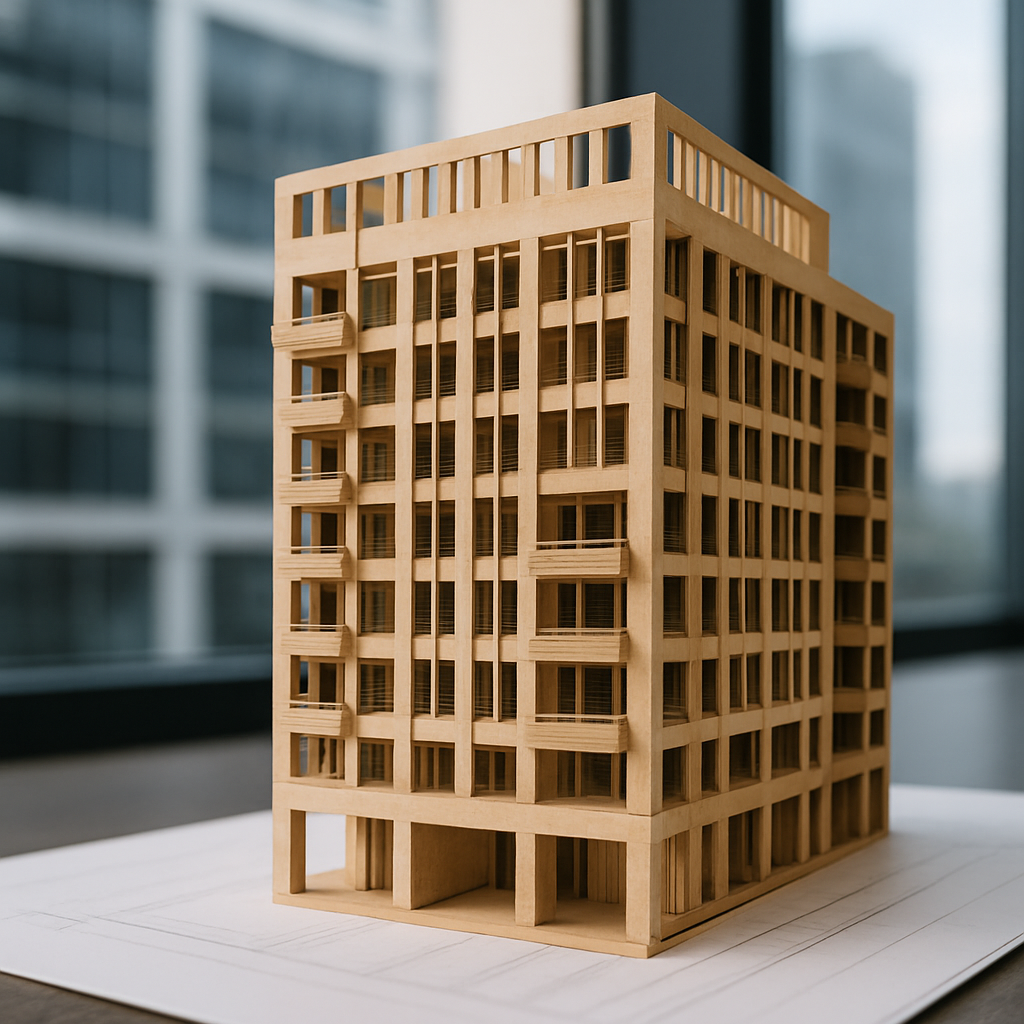
There’s no denying that laser cutting trumps old-school handcrafting methods when it comes to accuracy and repeatability. But here’s the catch: that legendary precision only pays off if you’re willing to plan ahead. Sketching your idea and pressing ‘cut’ is definitely not the whole story! You’ll need to turn your vision into a digital design, hunt down the right materials, anticipate which parts might give you a headache during assembly, and keep the model’s intended use front and center. All these choices—big and small—shape how your finished piece looks and works. If you’re new to this whole scene or just want to up your game, understanding the planning process in detail will set you on the right path to building something truly impressive and, honestly, pretty fun.
Step 1: Define Your Purpose and Scale
Before you even think about opening up a design program or flicking the power switch on your laser cutter, stop for a minute and ask yourself: What am I actually building this for? Is it a slick presentation piece for a client, a fun teaching tool, or just something to decorate your shelf at home? Does your model need to survive being handled over and over, or will it be living in a dust-free glass case? Knowing how your model will be used helps steer every decision, from how much detail you cram in, to which materials make the most sense.
Scale is really the backbone of your project—mess this up and the rest just doesn’t work. Go too small, and you’ll drive yourself nuts trying to add tiny details that just blur together. Go too big, and suddenly putting the thing together (never mind storing it!) turns into a major hassle. For most architectural projects, scales like 1:50, 1:100, or 1:160 (popular with train enthusiasts) tend to hit the sweet spot. And if your model’s meant to be passed around or shown off in public, a larger scale might make it sturdier and easier to see. Once you land on a scale, stick to it like glue in your design or your pieces just won’t fit the way you want.
Here’s a trick that’s saved me (and plenty of others) more than once: Spend some time checking out other models with similar goals. What do you like about their scale or level of detail? What would you tweak if it were yours? A bit of research up front really does save headaches (and wasted materials) later—and gives you a solid jumping-off point for your own model.
Step 2: Translating Your Design into Digital Files
Laser cutters eat digital vector files for breakfast—formats like SVG, DXF, or AI are their bread and butter. If you’ve already got digital plans of your building, you’re ahead of the game, but don’t assume those files are ready to go. You’ll probably need to fine-tune them for laser cutting. That usually means dialing back on super-complicated details, splitting up your design into layers for different materials or engraving, and double-checking that every line is a closed loop so the laser knows exactly where to cut.
Most newcomers reach for Adobe Illustrator, Inkscape, or even SketchUp (plus a plugin or two for vector exports). Sure, there’s a bit of a learning curve, but trust me, there are loads of tutorials and friendly online forums to help you out. Focus on creating separate layers: one for main structure parts, another for engraved bits like brick texture or signage, and maybe a layer for assembly marks. If you color-code these layers, it’s way easier to avoid goof-ups when you’re ready to hit ‘cut.’
And don’t forget—kerf is real! That’s the tiny bit of material the laser burns away with each pass. It’s easy to shrug off, but if you’re aiming for a snug fit, even a little 0.1mm gap can mess things up. Always test your designs on some spare material to dial in your kerf compensation. Every tab, slot, or joint needs to be purposely sized and placed if you want your build to go together smoothly—and trust me, nothing’s more frustrating than realizing a slot is off by a hair after you’ve already made the cut.
Step 3: Choosing Materials That Match Your Vision
Picking the right material isn’t just about making your model look cool. It affects everything—how strong your model is, how tricky it’ll be to build, and even how heavy (or light) it ends up. Most folks go for plywood or MDF for the main structure, since they’re both tough and reliable in thickness. If you’re after a sleek, modern vibe, acrylic is a winner—perfect for windows or shiny building facades. Cardstock and regular paper come in handy for those fine details or for layering on textures like shingles or brickwork.
Think about how your model will actually be used. If you’re building something for a classroom or a hands-on display, you’ll want tough materials—thicker plywood can take a beating. If you’re making a display piece and you want it to look as realistic as possible, consider mixing materials: clear acrylic for windows paired with a wood frame, or thin card with engraved brick details. Always check your laser cutter’s specs—some light-duty hobbyist machines can struggle with thick wood or certain plastics. Oh, and a quick safety reminder: steer clear of PVC and any plastics that give off nasty fumes when cut. No project is worth risking your health.
One thing I’ve learned the hard way: always prototype. Cut a few small sections from your design using each material you’re considering. See how they handle the little details, and how well those pieces fit together. This trial-and-error approach might take a bit more time, but it saves you from bigger disappointments (and wasted supplies) down the road.
Step 4: Anticipating Assembly—From Flat Parts to 3D Model
There’s nothing quite as frustrating as having a pile of beautifully cut pieces that just refuse to go together. Thinking ahead about assembly is key—you need to wrap your head around how to turn all those flat parts into a sturdy 3D model. Start by breaking your building into sections that make sense: walls, roof, floors, and all the little extras. Tab-and-slot construction is a favorite trick, letting you snap pieces together without drowning everything in glue, but you’ve got to watch out for weak spots or joints that are too tight to fit.
Try to map out the order in which you’ll put everything together. Do the windows need to slot into place before you add the roof? Are there sections you’ll need to keep open for wiring up LEDs or slipping in interior details? If you want moving parts or removable panels, plan those out early—otherwise you’ll end up reaching for the redesign button way too late in the game.
Don’t overlook instructions. Even if you’re the only one assembling your model, snapping a few photos or making diagrams during your first run can save you a ton of time when you forget which piece goes where. If you’re sharing your model with others, clear instructions are a lifesaver. And when it comes to painting or finishing, some pieces are way easier to paint before assembly, while others just make more sense to finish at the end. Experiment a bit and jot down what works for your particular build—it’ll pay off next time.
From Planning to Practical Use: Real-World Applications and Next Steps
When your laser cut building model finally comes together, the possibilities for what you can do with it are honestly pretty exciting. Architects rely on models like these to pitch ideas to clients, turning flat, abstract plans into miniature realities people can actually see and touch. Teachers grab them to make architecture and engineering lessons way more hands-on and memorable. And hobbyists—well, they get to create the custom towns, stations, and skyscrapers that make model railroads and game tables come alive.
But here’s the thing: finishing your first model is just the beginning. Each new project is a chance to tweak, improve, and discover better ways to do things. Listen to feedback from friends, clients, or fellow builders—do people get stumped putting your model together? Are any parts wobbly or unclear? Tuning your design with each new version is half the fun. You might even want to open up your design files so others can tinker with them, or team up with fellow enthusiasts to add cool features like swappable facades, LED lighting, or modular expansion packs.
Above all, let yourself play and experiment. Try out oddball materials, mix different construction tricks, or add interactive bits—magnets, sensors, or tiny lights can totally change the vibe. What starts as a simple scale building could end up stealing the show in your next presentation, becoming a favorite classroom prop, or even turning into a small side business selling custom kits. Building a laser cut model isn’t just about technical skill; it’s a creative launchpad, a way to collaborate, and a chance to make your mark in the real world—one miniature masterpiece at a time.


