
 Set for Student Project
 Lecture Note
 Lecture Video
 Activity
 Assignment
 Design Project
 Quiz & Exam

Blueprint to Reality: Proven Techniques for Planning a Laser Cut Building Model

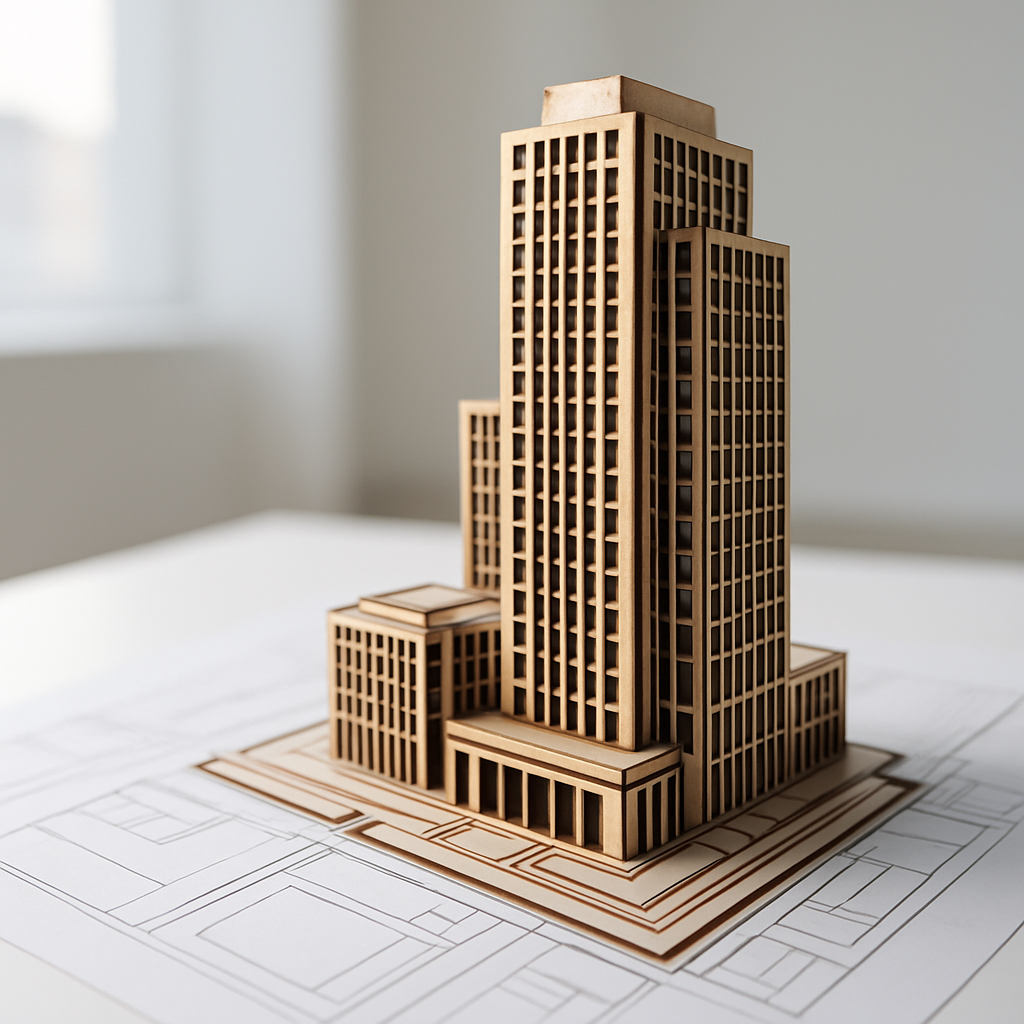
Understanding the Foundations: Why Planning Matters in Laser Cut Building Models
If you’ve ever thought about making a laser cut building model, you already know there’s something special about achieving crisp lines and intricate details that just aren’t possible by hand. But here’s the truth: even the priciest, most advanced laser cutter in the world can’t patch up a lack of planning. The planning stage is where your creative ideas and practical know-how really need to meet in the middle. Whether you’re a weekend hobbyist, a professional architect, or a teacher hoping to wow your students, how you plan makes all the difference—affecting everything from how sturdy your model feels, to how smoothly it assembles, to how much money you end up spending, and, yes, whether your finished project has that elusive “wow” factor.
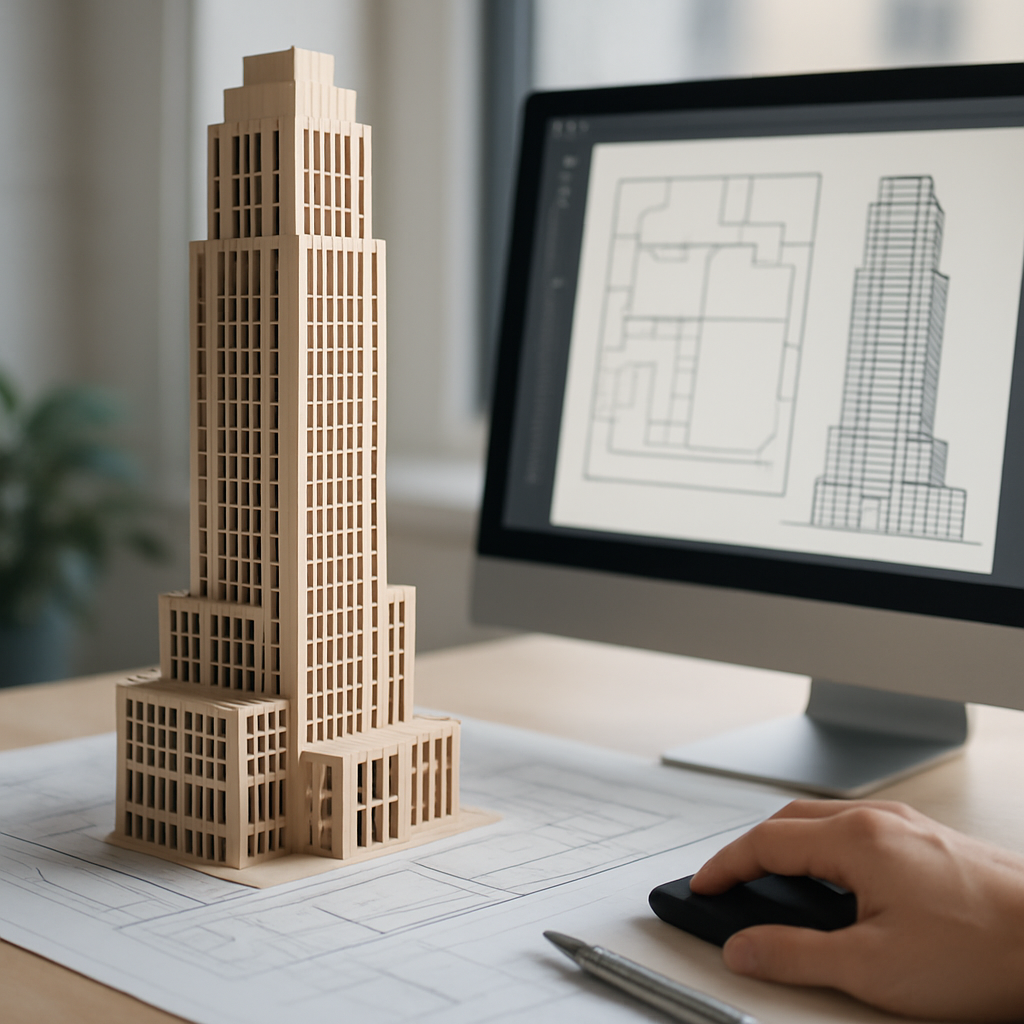
It all starts with being crystal clear about your goal. What’s the story behind your build? Are you aiming to recreate a famous landmark, develop a prototype for work, or maybe designing something for a miniature diorama? Your answer here isn’t just a footnote—it shapes every single choice that follows, like which scale makes sense or what materials will work best. For instance, if you’re trying to recreate a historic cathedral for a museum display, you’ll need to dig deep into architectural references and decide which features truly define its character. But if you’re putting together an early mock-up for a client, you may care less about ornate details and more about whether parts are easy to swap in and out. The clearer and more specific you are at this stage, the more likely your outcome will look polished and professional, rather than rough and unfinished.
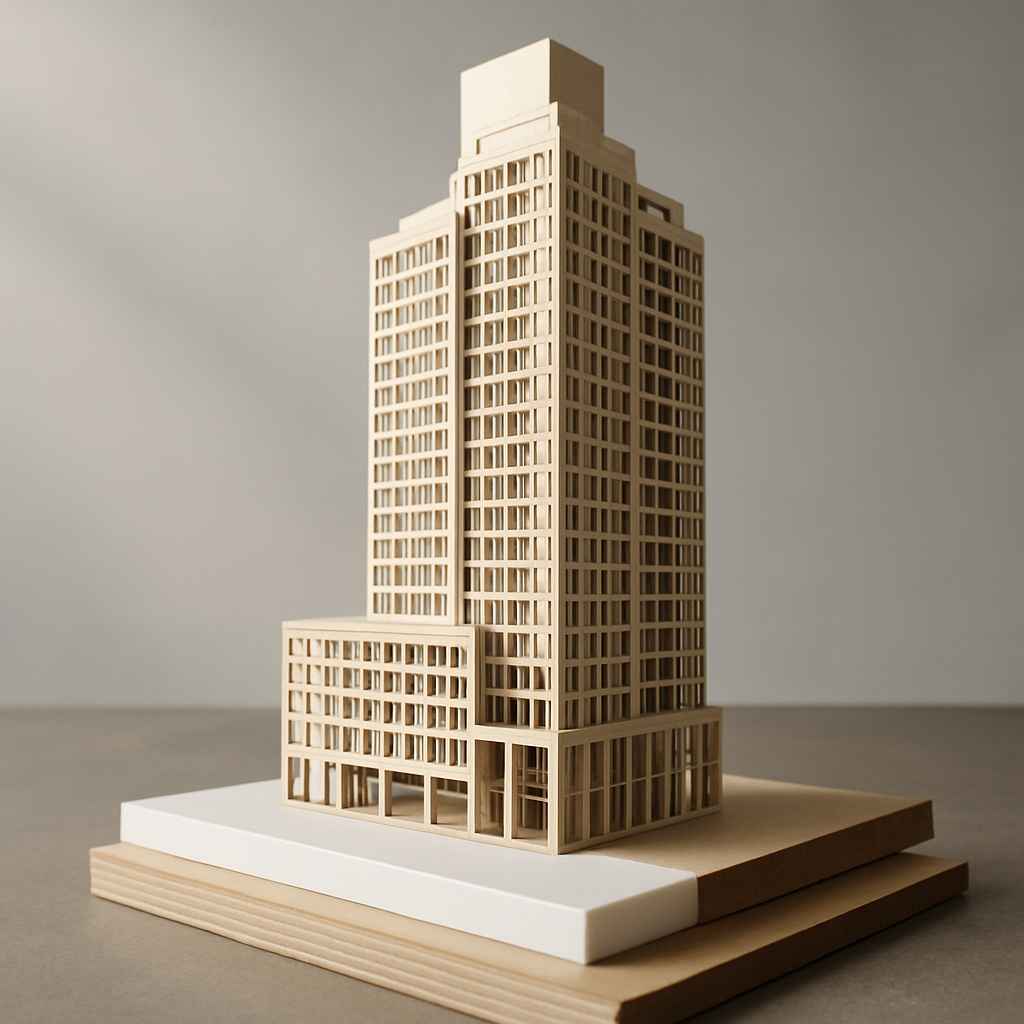
One trap that trips up even experienced makers is forgetting that your digital design isn’t just for looks—it’s your assembly manual and laser cutting blueprint all rolled into one. Skimp on this step, and suddenly you’re wrestling with pieces that refuse to fit, joints that are too snug to assemble, or windows that look nothing like you’d hoped. Ask any seasoned model builder, and they’ll tell you: they often spend as much time tweaking digital files as they do cutting and gluing. Put in the hours up front, and you’ll save yourself so much trouble down the line—less wasted material, smoother assembly, and a sturdier finished model.
And whatever you do, don’t skip the research. Study real buildings, scroll through other people’s models online, and pay attention to both what works and what flops. Every building has its quirks—an odd curve here, a tricky roofline there, or a facade begging for creative layering. The more familiar you are with your subject, the better you’ll be at capturing its unique character in laser-cut form, rather than just making a generic box with windows.
Digital Design: Crafting Your Model for Laser Precision
Now that you’ve got your research done and a clear vision in mind, it’s time to jump into the digital side of things—where your idea goes from a vague notion to something your laser cutter can actually understand. Most folks reach for vector-based design software at this point. Adobe Illustrator and CorelDRAW are popular, but there are excellent free options like Inkscape if you’re just dipping your toes in. If you’re all about architectural accuracy or want to play with 3D interlocking parts, CAD programs like Fusion 360 or SketchUp can be real game changers.
Before you even start sketching your first wall, nail down your scale. Going bigger lets you go wild with details, but it also means bigger sheets and more cutting time. Tiny scales are easier on materials, but suddenly fiddly window frames and paper-thin trim become exercises in patience. For architectural models, 1:100 or 1:87 (HO scale) usually hit the sweet spot—realistic enough for detail, not so small you go cross-eyed. As you design, keep checking what your laser can actually cut—the narrowest lines it handles, the smallest tab that won’t snap off during assembly. It’s not glamorous, but these details save you from a lot of headaches later.
One trick that never gets old is layering. Instead of trying to cram every detail onto a single piece, break up complex walls into layers for windows, doors, trim, and so on. Cut and stack these separate layers, and suddenly your flat facades show real depth and shadows. Even with simple materials like birch ply or acrylic, layering makes walls and roofs come alive—a favorite move among experienced modelers who want their projects to stand out without even painting them.
Don’t treat joinery like an afterthought. Relying just on glue can make for some pretty fragile results. Build in interlocking tabs, notched slots, and even fold lines where you need them—think of it like creating a smart 3D puzzle that holds itself together as you build. Test fit joints in your software, and, if you’re cautious (which is never a bad thing), run a small prototype cut to make sure your tolerances are spot on. It’s amazing how a tiny digital oversight—a difference of less than 0.1mm, believe it or not—can turn a satisfying snap-fit into something that wobbles or refuses to fit at all.
Here’s an easy win: always color code and clearly label your digital files. It may feel fussy, but marking cut lines, engrave lines, and score lines with different colors or layers saves you from costly mistakes during fabrication. Plus, when you’re sorting a mountain of tiny parts at the assembly table, you’ll be grateful everything’s organized and easy to track.
Material Selection: Balancing Aesthetics, Strength, and Cost
Even the tightest digital design can’t make up for a poorly chosen material. The material you settle on isn’t just a technical detail—it’s the bridge between your plan and a model that looks great and actually holds up to handling. For newcomers, lightweight woods like basswood, birch plywood, or even MDF are forgiving and work well with typical hobbyist laser cutters. Acrylic is the go-to for a clean, modern vibe—perfect for glassy facades or sleek contemporary buildings. If you’re just experimenting or need to keep costs in check, cardboard is a perfectly valid way to prototype fast and cheap.
Material thickness is another balancing act. Go too thin, and your model starts breaking at every turn. Too thick, and you lose those fine details or end up with pieces that are a pain to slot together. The happy middle for most builds is somewhere between 1.5mm and 3mm for the main structure, with thinner sheets for overlays and ornamentation. Always check both your laser’s maximum power and the size of its cutting bed before you drop cash on a big sheet—nothing kills momentum like realizing your beautiful 4mm ply either won’t cut cleanly or simply won’t fit on the machine.
Every material has its own “personality.” Plywood, for example, sometimes hides knots or little gaps inside that can mess up a perfect cut. Acrylic, on the other hand, can melt or warp if you cut it too slowly or with too much power. The only way to really know? Run test cuts. It’s like baking—everyone’s oven runs a bit different, so you need to tweak your recipe. Thinking ahead to finishing touches, keep in mind how your material takes paint or stain. MDF drinks up paint like a sponge, while acrylic needs a special primer to get color to stick at all.
Don’t overlook the edges. Laser cuts can leave beautiful, crisp lines—but depending on speed, power, and even humidity, sometimes you get charred or stained edges. A quick pass with fine sandpaper or masking your sheet before cutting keeps things looking sharp. For windows, you can go pro with clear acrylic, or get creative—cut up clear plastic from food containers or packaging and fit it in after assembly for a surprisingly convincing effect.
And yes, budget always matters. Fancy materials can give your project an edge, but costs can snowball quickly—especially if you have to redo a part or two. Starting with offcuts or smaller test sheets lets you prototype and nail your design before you splurge on premium stock for the final run.
From File to Fabrication: Setting Up for a Successful Laser Cut
At this stage, with files polished and materials ready, you’re about to move from screen to reality. But here’s the thing—don’t sprint to the laser just yet. Careful preparation at this point can honestly make or break your project (and your mood). First, take one last look through your vector files. Every cut, engrave, or score line needs to be correctly color-coded and set to the right line weight, since your laser cutter’s software will treat each differently. Watch out for overlapping lines—these can double burn areas or even weaken your structure. Give your file a good cleanup before exporting.
Packing your parts onto your material efficiently is part art, part logic. Some people use nesting software, others prefer to manually play “Tetris” until every inch is used. Always leave just enough space between pieces to avoid scorching and to account for the kerf—that sliver of material the laser vaporizes. For most home lasers, a kerf of about 0.1mm to 0.2mm is standard, but measure a test cut to be sure. Tweak your slots and tabs accordingly: too tight, and you’ll need a rubber mallet; too loose, and your model might feel like it’s held together by hope alone.
Rather than risking an expensive mistake, do a test cut of a few sample parts. This step lets you dial in your speed, power, and focus for clean cuts and perfect fits. It’s also the time to spot issues like overburning, incomplete cuts, or oddly warped pieces. If you’re diving into this hobby, keep a notebook or spreadsheet of your settings for different materials and thicknesses. Trust me, you’ll thank yourself next time.
Stay organized as you cut. It’s shockingly easy to mix up tiny, almost identical parts—especially in complex builds. Label each piece as you remove it, using pencil numbers, sticky notes, or a divided tray (an old muffin tin works wonders). Some builders take it a step further and engrave part numbers onto hidden tabs. This little hack can save hours of head-scratching during assembly.
And above all, stay safe. Use proper ventilation, eye protection, and clean out your laser bed and optics regularly. Many materials, especially plastics, give off fumes—never cut anything unless you’re certain it’s safe. Invest a bit of extra time and attention, and you’ll be rewarded with sharp, clean results and a frustration-free build.
Assembly and Finishing Touches: Bringing Your Vision to Life
This is the part everyone looks forward to—watching your stack of cut parts come together into a real, tangible building. But even now, a little patience and prep pays off in a big way. Start by dry fitting your pieces—putting it all together without glue to make sure joints, slots, and tabs are behaving as expected. This “dress rehearsal” helps you catch parts that are too snug, warped, or (it happens!) missing, before glue locks everything in place and makes fixes tricky.
Pick the right adhesive for your materials. For wood and MDF, classic wood glue or PVA gives you a strong hold and a few precious seconds to adjust parts. Acrylic needs a specialized solvent glue like Weld-On, which creates a bond so clean you can barely spot the seam. Go light on the glue; a little goes a long way, and blobs on visible surfaces can be impossible to fix. A fine-tip applicator, a toothpick, or even a micro brush lets you get into tiny spots without making a mess.
It’s tempting to just dive in, but assembly order really matters. Usually, you want to build from the inside out—install windows, doors, and any interior details before you seal up the walls or attach the roof. This makes reaching tricky spots so much easier and helps avoid snapping delicate details. For more complicated projects, break your build into sub-assemblies—put together roof modules or facade panels separately, then join them up at the end. It keeps things manageable and helps everything line up just right.
The little finishing touches are what set great models apart from the rest. Lightly sand visible edges for a smooth, professional finish. If you’re painting, use painter’s tape to mask off areas and build up color with thin, even coats. To add realism, try weathering techniques—dry brushing stone effects, adding subtle stains to wood, or even a bit of pastel dust for a lived-in look. Don’t forget the details: signs, roof vents, or a bit of landscaping made from textured paper or 3D printed extras can breathe life into your building.
Finally, display your masterpiece proudly! Mount it on a sturdy base, maybe add a nameplate or some scenery for context. A few subtle LEDs tucked behind windows or under the eaves can take your project from impressive to unforgettable, especially if you’re showing it off at an exhibit or in a classroom. And don’t forget to document your process—take photos, jot down what worked and what didn’t, and share your build with others in the laser cutting community. Every project is a learning experience, and your hard-earned tips might just inspire someone else’s next great creation.


