
 Set for Student Project
 Lecture Note
 Lecture Video
 Activity
 Assignment
 Design Project
 Quiz & Exam

Precision and Possibility: A Modern Introduction to Laser Cut Architectural Models

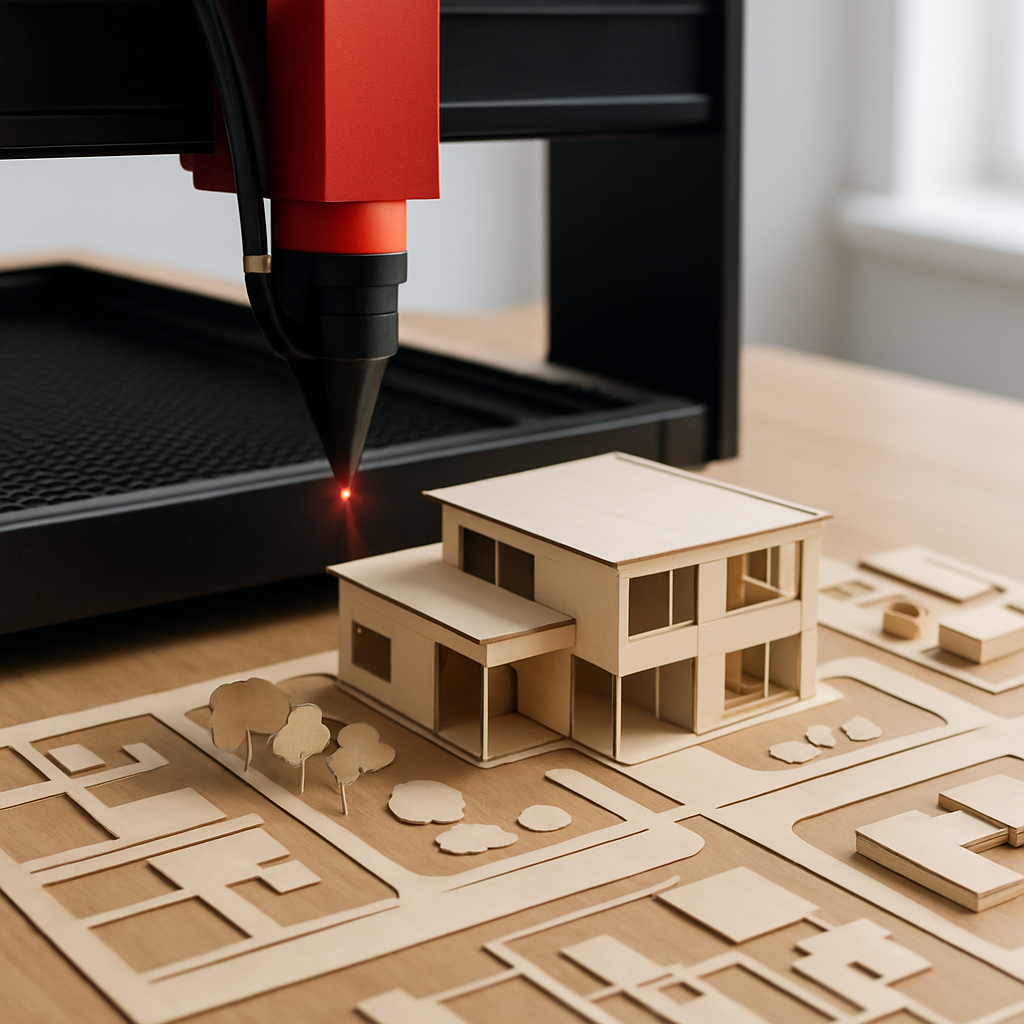
Why Laser Cut Architectural Models Are Transforming Design Communication
If you’re starting to explore the world of architectural visualization—or maybe you’ve been in it for a while—you’ve probably noticed the buzz around laser cut architectural models. The phrase itself—Introduction to Laser Cut Architectural Models—pops up everywhere: in course outlines, on design studio websites, and across online maker communities. And honestly, there’s a good reason for all this excitement. Laser cutting technology isn’t just the latest fad; it’s genuinely reshaping the way architects, students, and clients experience and interact with physical models. Unlike the old-school way of hand-cutting models—which, let’s face it, often meant hours bent over a table with a shaky ruler and a dull blade—laser cutters bring something totally new: incredible precision, reliable repeatability, and a speed that changes everything. But it’s not just about neater corners and faster builds. There’s a whole story unfolding about why these models have become communication game-changers, and how they can help bridge the gap between a scribbled sketch and a finished building.
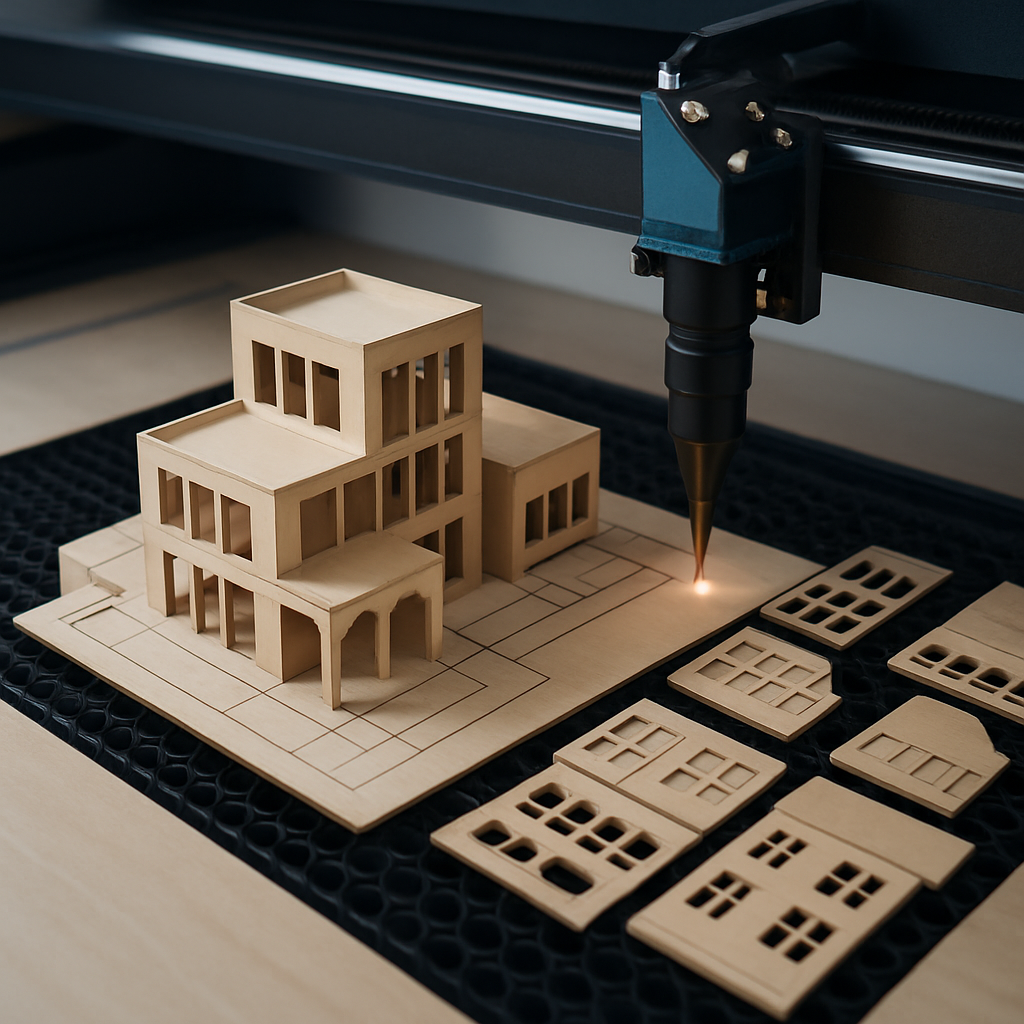
The difference laser cut models make is easiest to spot during project reviews and client meetings. Think back (or imagine) to the days when building models by hand took days, sometimes weeks. Feedback and quick changes? Not so much. Now, design teams can whip up multiple versions of a façade or an entire site layout overnight, making it possible for everyone involved to see options side by side. It’s a huge step forward—clients can actually pick up a model, get a sense of the scale and massing, and compare alternatives in real, tangible form. For example, a developer considering a new mixed-use project can quickly review various massing concepts, each showing off different approaches to density, green space, and circulation—all built with that signature laser-cut precision. Suddenly, decision-making isn’t just easier—it’s smarter, faster, and a lot more collaborative.
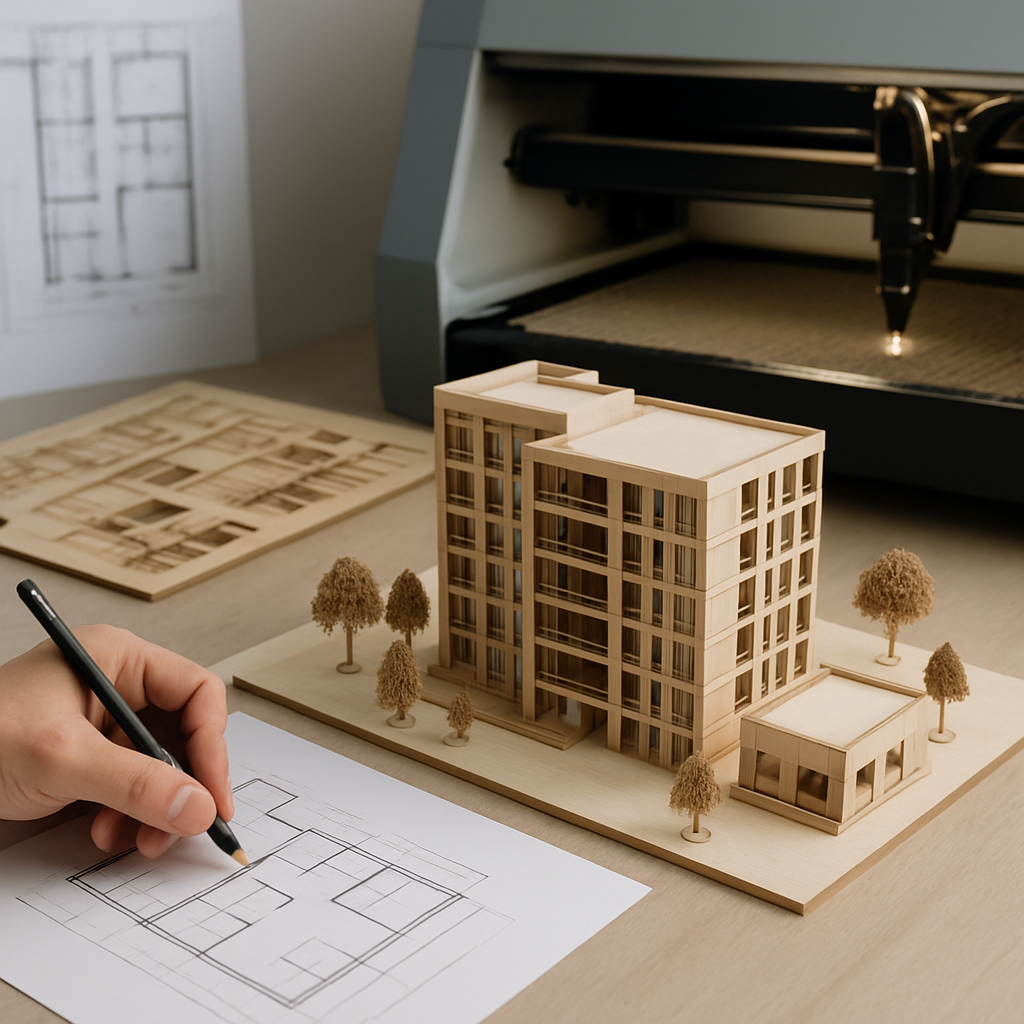
And it’s not just clients who benefit. Laser cut models have become a universal language for project teams. Architects, engineers, and contractors often have their own jargon, which can sometimes make things confusing. A physical model—detail-packed and accurate—serves as a shared point of reference, helping everyone get on the same page about tricky intersections or unusual forms. In classrooms, students say that seeing their digital designs come to life in three dimensions is a revelation. It’s one thing to see your work on a screen, but holding a scaled-down version in your hands? That’s a whole different level of understanding. It sharpens design instincts, builds confidence for presentations, and honestly, it’s just really satisfying. In the end, laser cut architectural models aren’t just miniature buildings. They’re conversation starters, tools for collaboration, and sometimes, the spark that pushes a project from concept to reality.
The Technology Behind the Magic: How Laser Cutters Work for Architecture
So, how does all this magic happen? At the heart of it is a surprisingly straightforward piece of technology—a laser cutter. What it actually does is pretty cool: it’s a computer-driven machine that uses a focused laser beam to cut or engrave materials with pinpoint accuracy. In the context of architectural model making, that means you can cut out intricate patterns, delicate window mullions, or complex latticework that would leave most folks cursing under their breath if they tried it by hand. Here’s how it goes: you design your components in a digital tool like AutoCAD or Rhino, export the files, and send them to the laser cutter, which then follows your design with mind-boggling precision—often down to fractions of a millimeter.
The materials? There’s a lot of flexibility. You’ll see people using everything from basswood and acrylic to museum board and cardboard. Most of these materials take well to laser cutting, so you’re not limited in your choices. One of the real breakthroughs is how quickly you can go from idea to prototype. Need to tweak a dimension or try an alternate design? No problem—you can update your digital file and cut a new piece without starting from zero. This workflow is becoming the norm in architecture firms, and it’s fantastic preparation for real-world practice. Sure, a good laser cutter isn’t exactly cheap, but studies from university fabrication labs suggest that both the time saved and the accuracy achieved are well worth it, especially if you’re producing lots of models or need multiple iterations for client presentations.
Take, for example, a group of architecture students working on urban infill schemes. They can use the laser cutter to fabricate site models with stacked contours in no time, which lets them test building footprints and landscape ideas in relation to actual terrain. Professional firms, especially when facing competition deadlines, rely on laser cutters to turn out eye-catching presentation models quickly. These aren’t just basic boxes—think engraved façades, tiny window mullions, even etched streetscape details—all in a fraction of the time it would take to do by hand. And because everything is controlled digitally, you can get creative: parametric designs, intricate perforations, doubly curved forms—all can be flattened into cuttable parts, then assembled into something much more complex. The repeatability is a huge bonus, too. Need five copies of the same component? Done. That consistency lets designers focus more on the big-picture ideas and less on fiddly, repetitive cutting.
Of course, it’s not all smooth sailing. Every technology has its quirks. Laser cutters have limits on the thickness of materials they can handle, and some stuff (like PVC) is actually dangerous to cut because it releases toxic fumes. Getting good at this means learning which materials work best, how to prep your files to avoid mistakes, and how to dial in the right settings for each job. For instance, if you try to cut thick plywood too quickly, you’ll wind up with charred edges—and pieces that don’t fit together just right. Acrylic is another tricky one; if you overdo the power, it tends to warp. There’s also a physical limit to how small you can get with your details—the laser beam itself has a width, so ultra-fine elements might not come out as crisp as you’d like. Balancing creative ambition with what’s technically possible is part of the craft, but that’s where you really start to see creativity and precision come together.
And let’s not forget the upkeep. Regularly cleaning the laser lens, making sure there’s proper ventilation, and following safety protocols aren’t just recommendations—they’re essential. Many labs have their own best practices for prepping files, like using specific naming conventions, color codes for cutting versus engraving, or making sure line weights are set just right. The more you use the machine, the more you’ll develop a sense for which settings and materials give the cleanest results. Over time, it almost feels like an extension of your own creative process—a high-tech tool that becomes surprisingly intuitive once you get the hang of it.
From Draft to Display: The Creative Process of Laser Cut Model Making
Let’s be honest: creating a standout laser cut model isn’t just about clicking “print” and hoping for the best. The journey starts at the digital design stage, and here’s where you really need to think in 3D—even though you’re going to be breaking things down into 2D components for cutting. Every piece you design has to fit together in real life, so it pays to plan out tabs, slots, and layers from the get-go. Maybe you’re designing façade panels that snap together like puzzle pieces, or using a layering technique to replicate the contours of a hilly landscape—either way, it’s all about forethought.
The file prep is where you’ll either set yourself up for a smooth build or a lot of frustration. Each part—walls, roofs, floors, even bits of landscaping—needs to be “unfolded” into a flat outline, complete with notches, registration marks, or whatever assembly hints you’ll need later. Deciding on the right level of detail is a bit of an art: go too fine and your model could turn out fragile and fiddly; leave too much out and it risks looking bland or generic. For example, if you’re working on a glass curtain wall, you might engrave the mullions onto clear acrylic, then lay that over a frame to give the illusion of real transparency and depth. Or take topographic models—layering museum board, cut to different contour lines, creates a landscape model with impressive clarity.
Once everything is cut, it’s time for the assembly marathon. This is where patience and precision become your best friends. You’ll likely find yourself sanding edges, aligning structural pieces, and carefully gluing without getting fingerprints all over the visible surfaces. The best models don’t just look sharp—they express an atmosphere, capture how light moves through spaces, or even hint at how people might use them. More and more, studios mix laser cut pieces with 3D printed parts or hand-crafted elements. This blend of digital and manual techniques adds depth and character that no single method could achieve on its own.
It’s this hybrid approach where laser cut models really come into their own. The speed and accuracy of digital fabrication, mixed with the craft and personality of hand-finishing, create models that are both technically impressive and emotionally compelling. For instance, a student might construct the main structure from laser cut basswood, add hand-painted figures for context, and use 3D printed chairs or trees to show how the space could come alive. The result isn’t just a scale replica—it’s a miniature world, a storytelling tool that invites exploration. In the professional world, architects love using laser cut site models with removable massing blocks. That way, they can pop on and off different building options during a client meeting, making design discussions interactive and engaging. Suddenly, the model isn’t just for show—it’s a living, working design tool.
Finishing touches go a long way, too. Some designers like to sand and stain wood for a warm, polished feel, while others leave the laser’s burn marks visible as a badge of the digital process. Engraving is another trick: you can hint at different materials, add signage, or even texture landscape features. And don’t forget lighting—embedding tiny LEDs in your model can help test how daylight moves through the building or highlight key circulation paths. In the end, building a laser cut model is about much more than technical know-how. It’s a mix of planning, hands-on craft, and creative experimentation—resulting in a final piece that does more than just communicate your ideas. It invites people to pick it up, poke around, and imagine new possibilities.
Benefits and Limitations: What You Gain—and What to Watch Out For
Laser cut architectural models come with a list of benefits that’s tough to beat, especially if you value precision, speed, and versatility. You can quickly bring to life complex forms—whether it’s a parametric façade or a tricky roof truss—that would be a nightmare to cut by hand. Got a piece that broke or went missing? No sweat. Just recut it from your file and keep going. This repeatability is a lifesaver, especially for bigger teams or in teaching environments, where you’d rather be focusing on design than endlessly trimming and gluing the same shapes over and over.
The ability to iterate quickly is huge—both in studios and professional offices. Imagine a design team rushing to meet a competition deadline. They might update their proposal multiple times in a single week, and laser cutting allows them to swap out new roof lines, window placements, or landscaping ideas on the fly, without having to rebuild everything from scratch. The same goes for students: get feedback, make a few changes, and have a new version ready in time for the next review. This kind of agility not only speeds up the design process, it also encourages experimentation because the stakes for making changes are low.
But as with any powerful tool, there are some watch-outs. It’s tempting to let the machine’s capabilities run the show, filling your model with elaborate patterns or details just because you can. Sometimes, laser cut models can end up looking too perfect—almost sterile—lacking the warmth and quirkiness that hand-built models so often have. There’s also a learning curve. Prepping files, understanding which materials play nicely with the laser, and keeping the machine in good shape all take technical skill. Mess up here, and you’ll waste both time and materials (not to mention your patience).
Some common traps? Misaligned drawings, incorrect cutting depths, or using flimsy materials that warp or fall apart. Saving money by switching to thin chipboard might seem smart, but it can cause more trouble than it’s worth if your model starts delaminating. Overcomplicating the assembly with too many tabs and slots—especially if you forget to account for the kerf (that’s the width of the laser cut)—can make putting things together a nightmare. And sometimes, the very speed of the process can backfire, with folks rushing models out the door before they’ve had a chance to really work through the details.
There’s also the environmental side to consider. Laser cutters use a fair amount of energy, and some common materials like acrylic are petroleum-based. More designers are experimenting with greener options—recycled boards, FSC-certified wood, or biodegradable plastics—to keep their footprint in check. Some fabrication shops encourage reusing offcuts for mockups or smaller builds, and some have even invested in more energy-efficient machines to help curb power use. Schools are getting in on the action, too, with recycling and scrap collection programs. The trick is to remember that laser cutting is a tool, not a magic solution. When used thoughtfully, it can really boost your creativity and your ability to communicate a design. Used thoughtlessly, it risks producing models that might look sharp but feel lifeless and disconnected from your core ideas.
Finally, there’s the question of access. Not every student or young design firm has a laser cutter at their disposal, and outsourcing can be pricey and sometimes slow. Plus, laser cutters need the right ventilation, and users have to be trained to operate them safely—a limitation in some settings. That said, as the technology gets more affordable and widespread, its power to transform architectural communication just keeps growing.
Getting Started: Practical Tips and Pathways for Beginners
Thinking about giving laser cut architectural models a shot? Great choice! The best way to dive in is to start with resources that are easy to access and to keep your first ambitions realistic. These days, lots of universities and makerspaces have laser cutters available, along with intro classes or friendly staff ready to help out. If you’re working on your own, desktop laser cutters are more affordable than ever, but make sure to do your homework—precision, bed size, and safety features (like proper ventilation) all matter. My advice? Start small. Try making a simple massing model or a basic façade panel before you take on something super complex.
Materials and settings are worth obsessing over, at least a little. Thinner materials cut faster, but they can also warp or snap during assembly. Always do a few test cuts on scrap material—and to keep your model looking sharp, you can use masking tape to protect visible surfaces from burn marks. As you get more comfortable, try layering, engraving, or mixing in elements from other fabrication methods like 3D printing or CNC routing. The real goal isn’t just learning the technical side, but figuring out a process that makes your design work better—and helps you tell your story more clearly.
If you’re tackling your first project, pick something straightforward—a building with a clean, simple geometry and not too many tiny details. Use a free or student version of CAD software to draw up your parts, and export them in a vector format like .DXF, .AI, or .SVG. Before you commit to expensive materials, run a test with cardboard to check fit and alignment. Keep a little notebook handy to jot down the laser settings you use—speed, power, material thickness—so you can recreate good results or troubleshoot problems later. Online communities like Reddit’s r/architecture or the laser cutting sections of maker forums are packed with advice, templates, and real-world reviews of different machines and materials. Don’t be shy about jumping in and asking questions—most people are happy to help and share their knowledge.
Feedback is gold, so ask for it whenever you can—whether it’s from classmates, colleagues, or strangers online. Instagram and design forums are full of jaw-dropping examples and plenty of practical troubleshooting tips. And remember: the best laser cut architectural models are the ones that reflect your own voice and approach to design. Whether you’re gearing up for a big studio critique, prepping a model for a client pitch, or entering a competition, laser cutting puts some seriously powerful tools at your fingertips. Used with care and intention, you’re not just keeping up with the trends—you’re helping set them for the future.
One last bit of advice: don’t just focus on the technical steps. Presentation is an art, too. A well-lit, thoughtfully photographed model can be just as persuasive as the model itself. Take the time to document your process, reflecting on what worked smoothly and what could be improved next time. Treat laser cut model making as a craft—a blend of digital know-how and creative expression—and you’ll find yourself not just keeping up with the architectural profession, but standing out. With practice, these models will help you turn your boldest ideas into something others can see, touch, and get excited about.


